Getting set up
From nothing to a published schedule in about fifteen minutes. Do these steps in order — the site walks you through them too, with a checklist that appears right after you register.
1 · Register your organization
Go to selfieshifts.com and press Get started. You'll enter your name, your email (this becomes your login), a password, and your organization's name. That's it — you're the Owner, with full control, and your 30-day free trial starts. No card needed yet.
2 · Tell us about your place
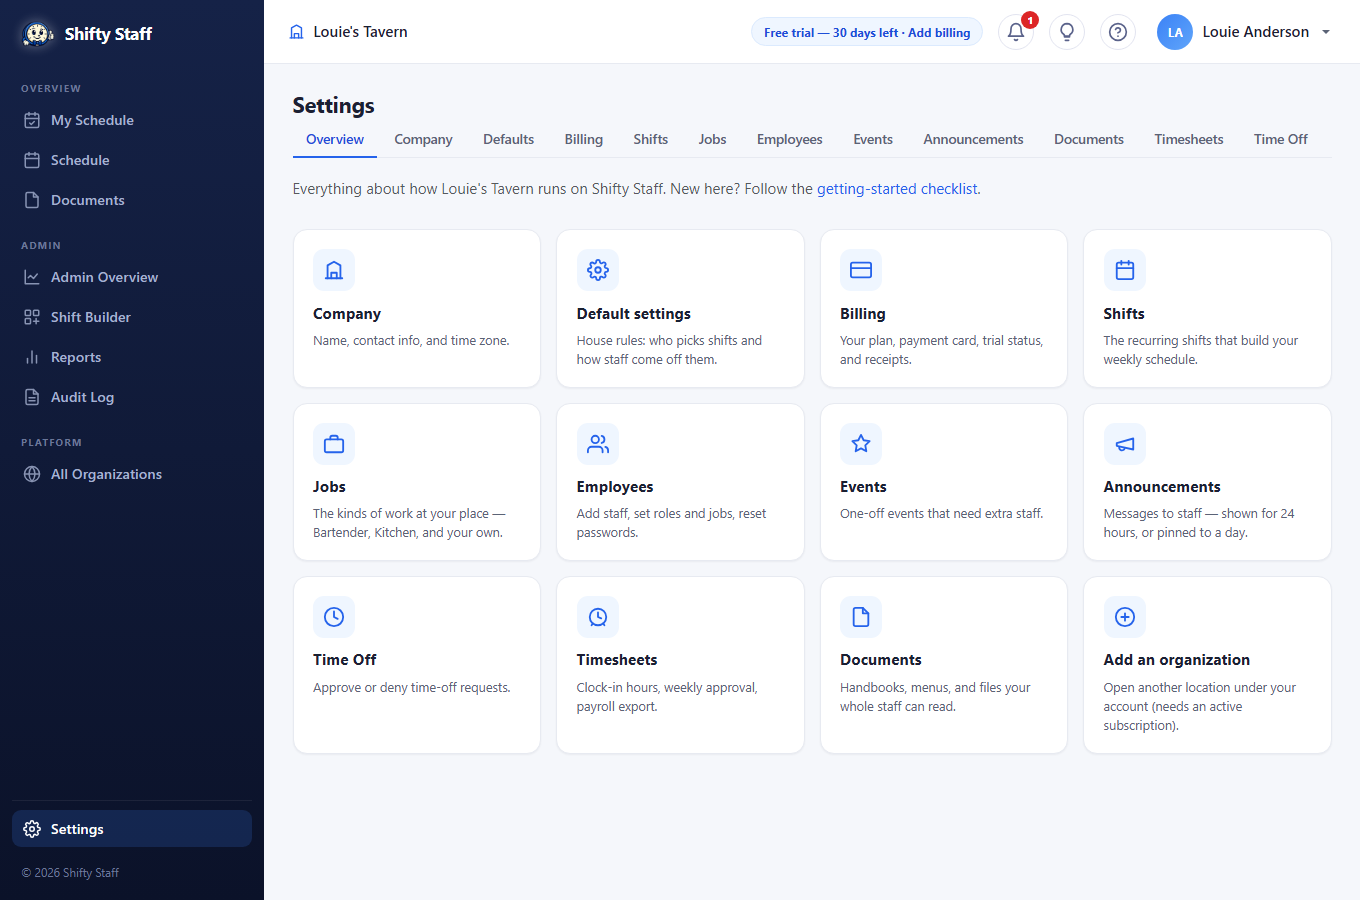
After registering you land on a getting-started checklist. First stop: Settings → Company — your address, phone, and most importantly your time zone, because every shift time uses it.
3 · Set up your jobs
Under Settings → Jobs, list the kinds of work at your place — Bartender and Kitchen are started for you; rename them or add your own (Server, Host, Security…). Each job gets a color, and that color follows it everywhere: on shifts, on people, on the calendar. Later, you'll tag each employee with the jobs they can work, and the site will only suggest qualified people for each shift.
4 · Build your recurring shifts
Under Settings → Shifts, describe a normal week once: "Evening Bartender, Tuesday to Saturday, 5pm–11pm, needs 2 people." The site then generates the actual calendar from these patterns automatically, week after week. You can always add one-off shifts later for unusual days.
5 · Add your people
Under Settings → Employees you have two ways:
- Add employee — one form per person: name, email, phone, and which jobs they work. They get an email with a login and instructions.
- Upload in bulk — download the Excel template, fill in one row per person, and upload the whole roster at once. Rows with problems are reported back by row number; the rest import fine.
If someone already uses Selfie Shifts at another organization, the site recognizes them (by email or Social Security Number) and simply links their existing account — one login for everything, no duplicates.
6 · Publish your first week
Open Schedule in the left menu. Your recurring shifts are already on the calendar. Fill the open ones by assigning people from the dropdowns — or let staff pick up open shifts themselves (that's on by default; change it under Settings → Defaults). Every assignment notifies the person instantly.
7 · Get everyone on the app
Tell your staff to install the Selfie Shifts app and log in with the email you added them with. They'll see their shifts, get notifications, request time off, and pick up extra work — all from their phone. The mobile app guide covers it.
When the trial ends
Sometime in your first 30 days, visit Settings → Billing, save a card, and pick the plan that fits your team size. Nothing is charged until you press subscribe, and the header always shows how many trial days remain. Details in the billing guide.